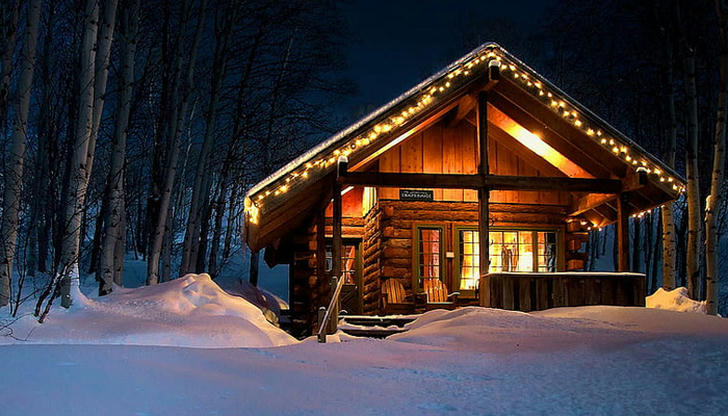
Weather patterns are changing. Cabins that were comfortable a decade ago now face longer heatwaves, heavier snow loads, more intense storms, and extended wildfire seasons.
The good news is that you don’t need to rebuild your cabin to make it more resilient. Strategic upgrades can significantly improve comfort and protection without changing the character you love.
Keeping Cool: Beyond Window Units
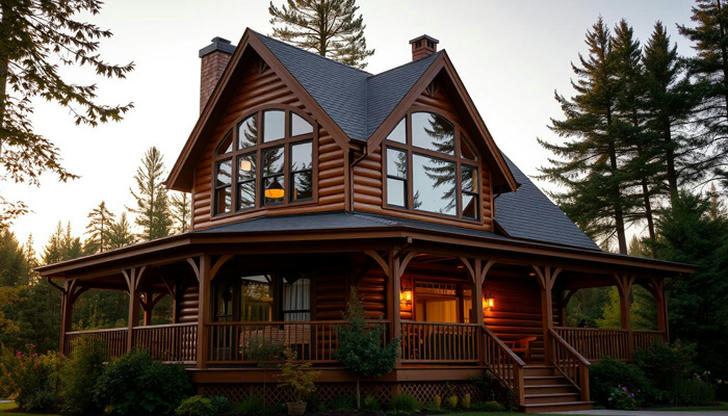
Log cabins were traditionally designed for cool climates — thick logs that store heat and keep the interior warm. In summer, that same thermal mass works against you, absorbing heat during the day and releasing it at night.
The most effective cooling upgrades, ranked by impact:
1. Reflective roof coating. A cool-roof coating reflects sunlight instead of absorbing it. This single upgrade can reduce attic temperatures by 15–25°F in summer. Cost is modest — typically $0.50–$1.00 per square foot for DIY application.
2. Radiant barrier under the roof deck. This reflective layer blocks heat from transferring from the hot roof into the living space below. It’s especially effective in cabins with metal roofs.
3. Window shading. Exterior shades, awnings, or strategically planted deciduous trees block summer sun while allowing winter light. Interior blinds help but are less effective because the heat has already entered the building.
4. Ceiling fans in high-traffic rooms. Properly sized ceiling fans create airflow that makes a room feel 4–6°F cooler without changing the actual temperature.
5. Mini-split heat pumps. These ductless systems provide efficient cooling and heating for individual rooms. They’re more expensive than window units but quieter, more efficient, and don’t block windows.
Heavy Snow: Structural Preparation
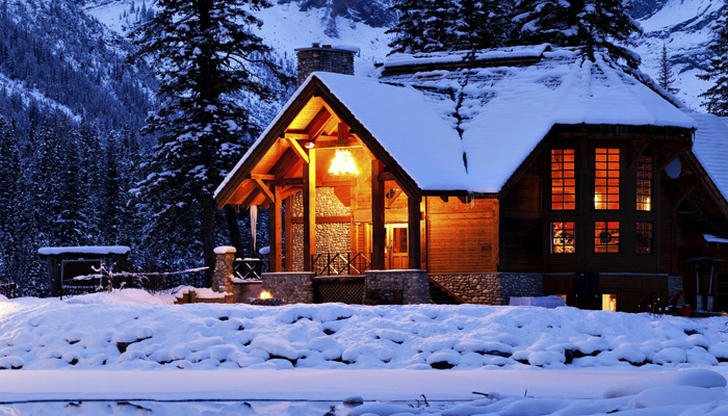
Snow loads have increased in many regions. A roof that was adequate for the snowpack of 20 years ago may be at risk today.
Signs your roof may need reinforcement:
- Doors that stick or are harder to close after heavy snowfall (indicating roof load is pushing down on the structure)
- Visible sagging in the roofline
- Cracks in interior walls near the roof corners
- A roof that was designed before current building codes were adopted
Practical reinforcements:
- Snow guards. These devices prevent snow from sliding off the roof in avalanches, protecting decks, walkways, and lower roofs.
- Reinforced truss connectors. In some cases, existing trusses can be reinforced with metal connectors rather than fully replaced.
- Regular snow removal. For cabins in heavy snow zones, a roof rake allows you to remove snow from the ground level after storms.
Wildfire: Creating Defensible Space
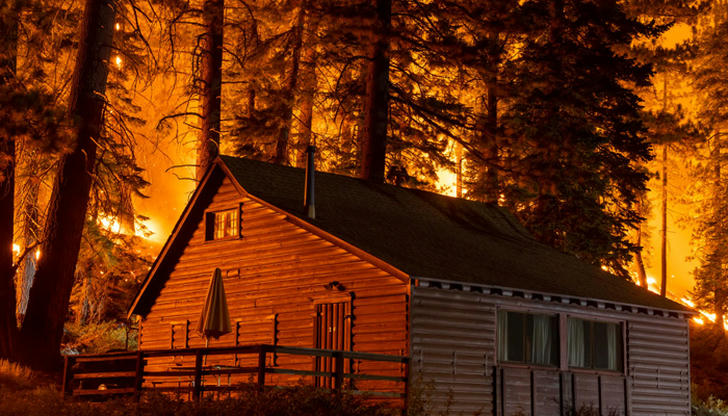
Wildfire preparation is not about making your cabin fireproof — that’s not realistic. It’s about giving it the best chance of surviving an approaching fire.
The defensible space approach has three zones:
Zone 1 (0–5 feet from the cabin): This is the most critical area. Use non-flammable materials like gravel or stone for ground cover. Remove all dead vegetation. No firewood storage. No wood mulch.
Zone 2 (5–30 feet): Remove dead trees and branches. Trim lower branches of remaining trees to at least 6 feet above ground. Space trees so canopies don’t touch.
Zone 3 (30–100 feet): Thin dense vegetation. Remove ladder fuels (small trees and shrubs that can carry fire upward).
Structural upgrades that help:
- Ember-resistant vents. Install metal mesh with 1/8-inch openings over all attic, foundation, and gable vents. Embers entering through vents are a leading cause of home ignition during wildfires.
- Fire-resistant roofing. Metal, tile, or asphalt composition shingles are significantly more fire-resistant than wood shakes.
- Treated wood. Some fire-retardant treatments can be applied to existing logs. Effectiveness varies, so choose products tested to current standards.
Heavy Rain: Managing Sudden Downpours
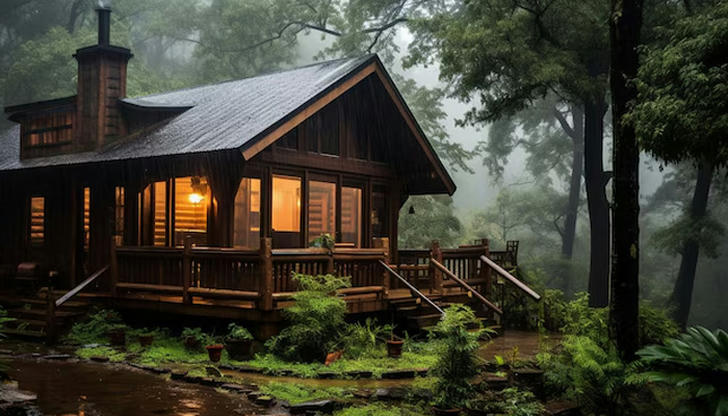
Extreme rain events are becoming more common regardless of region. The risk isn’t just flooding — it’s the concentrated moisture that hits your cabin’s exterior.
Gutter upgrades that make a difference:
- Oversized gutters. Standard 5-inch gutters can overflow during heavy downpours. Upgrading to 6-inch gutters increases capacity by about 40%.
- Additional downspouts. One downspout per 40 feet of gutter is the minimum. In heavy rain areas, one per 30 feet is better.
- Underground drainage. Downspouts that empty onto the ground near the foundation create concentrated moisture. Extend them via underground pipes to a discharge point at least 10 feet from the cabin.
Grading matters. The ground around your cabin should slope away at a rate of at least 1 inch per foot for the first 5 feet. If water pools near the foundation after rain, the grade needs correction.
Year-Round Comfort: The Insulation Audit
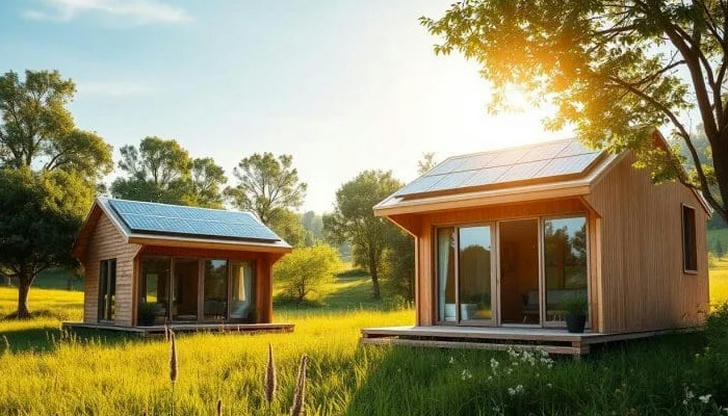
Many cabins, especially older ones, were built with minimal insulation. The assumption was that thick logs would provide enough thermal protection. In practice, logs alone rarely provide adequate insulation for year-round comfort in extreme climates.
Where insulation makes the biggest difference:
- The roof. Up to 30% of a cabin’s heat loss occurs through the roof. Adding insulation here has the fastest payback.
- The floor. Cold floors make a cabin feel uncomfortable even when the air temperature is acceptable. Floor insulation is often overlooked because it’s not visible.
- Around windows and doors. Draft sealing is the cheapest comfort upgrade available. Weatherstripping and caulk cost under $50 and can be installed in an afternoon.
What not to do: Don’t seal a cabin so tightly that it can’t breathe. Log homes need some air exchange to prevent moisture buildup. If you add significant insulation, ensure you maintain adequate ventilation, especially in the attic and crawl space.
Smart Technology for Remote Monitoring
If your cabin is not your primary residence, smart home devices can alert you to problems before they become emergencies.
Most useful devices for cabins:
- Smart thermostats. Monitor temperature remotely and receive alerts if it drops below freezing or rises too high.
- Leak sensors. Place near water heaters, under sinks, and next to washing machines. They send an alert to your phone when moisture is detected.
- Freeze sensors. Simple temperature sensors in vulnerable areas can alert you before pipes freeze.
- Security cameras. Battery-powered cameras with cellular backup can confirm that the cabin is secure after a storm.
These devices require Wi-Fi. If your cabin doesn’t have reliable internet, consider a cellular-based monitoring system designed for remote properties.
The Budget-Friendly Priority List
Not everyone can do all of these upgrades at once. Here is the order that gives you the most protection per dollar:
Year 1 (under $500): Weatherstripping, caulk gaps, clean gutters, trim vegetation, add ember-resistant vent covers
Year 2 ($500–$2,000): Reflective roof coating, additional downspouts, roof snow guards, smart thermostat
Year 3 ($2,000–$5,000): Radiant barrier, gutter upgrades, window shading, floor insulation
Year 4+ ($5,000+): Mini-split system, roof reinforcement, major insulation upgrades
The Goal: A Cabin That Works With Its Environment
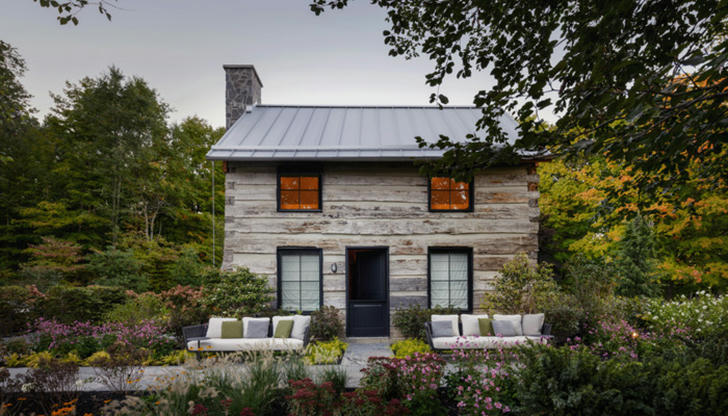
Climate-ready cabins aren’t about fighting nature. They’re about adapting to the conditions your specific location presents. A cabin in a dry, fire-prone forest needs different upgrades than a cabin in a wet, snowy mountain region.
The most cost-effective approach is to identify your single biggest climate risk and address that first. For most cabin owners, that’s either summer heat (cooling and shading), wildfire (defensible space and ember protection), or winter cold (insulation and draft sealing).
Each upgrade makes your cabin more comfortable, more durable, and more enjoyable to own. And in most cases, the upgrades pay for themselves through lower energy bills and avoided repairs.